Your Bike’s Life Insurance: The Ultimate Saddle Bag Guide
Twenty miles from home, you hear the dreaded hissssss of escaping air. Your heart sinks as you realize your phone has no signal, and the next town is a mystery. This is the moment that separates prepared cyclists from those who push their bikes home in defeat.
The bicycle saddle bag isn’t just another accessory – it’s your mobile rescue station, your insurance policy against the unexpected. It’s the difference between a minor hiccup and a day-ruining disaster. Yet most cyclists either skip it entirely or pack it all wrong.
The best saddle bags disappear when you’re riding but become indispensable when things go sideways. They mount securely behind your seat, accessible without dismounting, and feature quick-release mechanisms for security stops. No rattling, no bouncing, just quiet confidence.
The Non-Negotiables: What Transforms Disaster Into Inconvenience
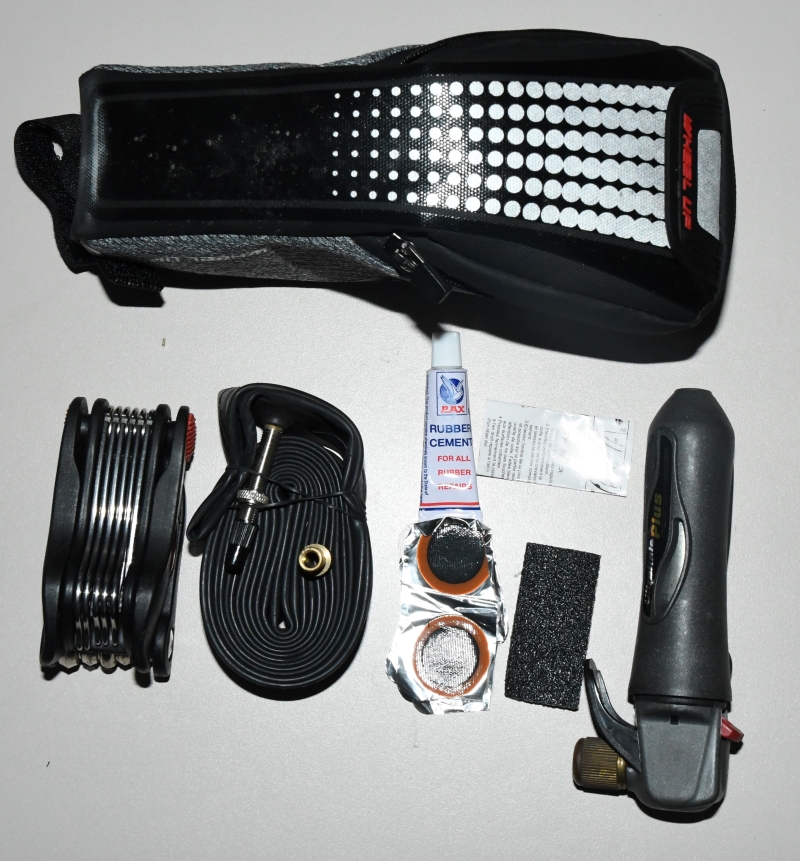
After hundreds of miles and more than a few roadside emergencies, here’s what earns its weight in my saddle bag. These aren’t suggestions – they’re necessities that have saved rides (and dignity):
CO2 Inflator + Backup Pump: Your Flat Tire Salvation
Here’s the reality: roadside flats happen, usually when you’re already running late. A CO2 inflator gets you from zero to rideable in under 30 seconds – no exhausting pumping session required. But (and this is crucial) always carry a backup mini-pump too.
Why both? CO2 canisters are one-shot deals. Miss the seal, have a second flat, or need to top off pressure later, and that empty canister becomes expensive trash. The mini-pump might take five minutes of work, but it never runs out.
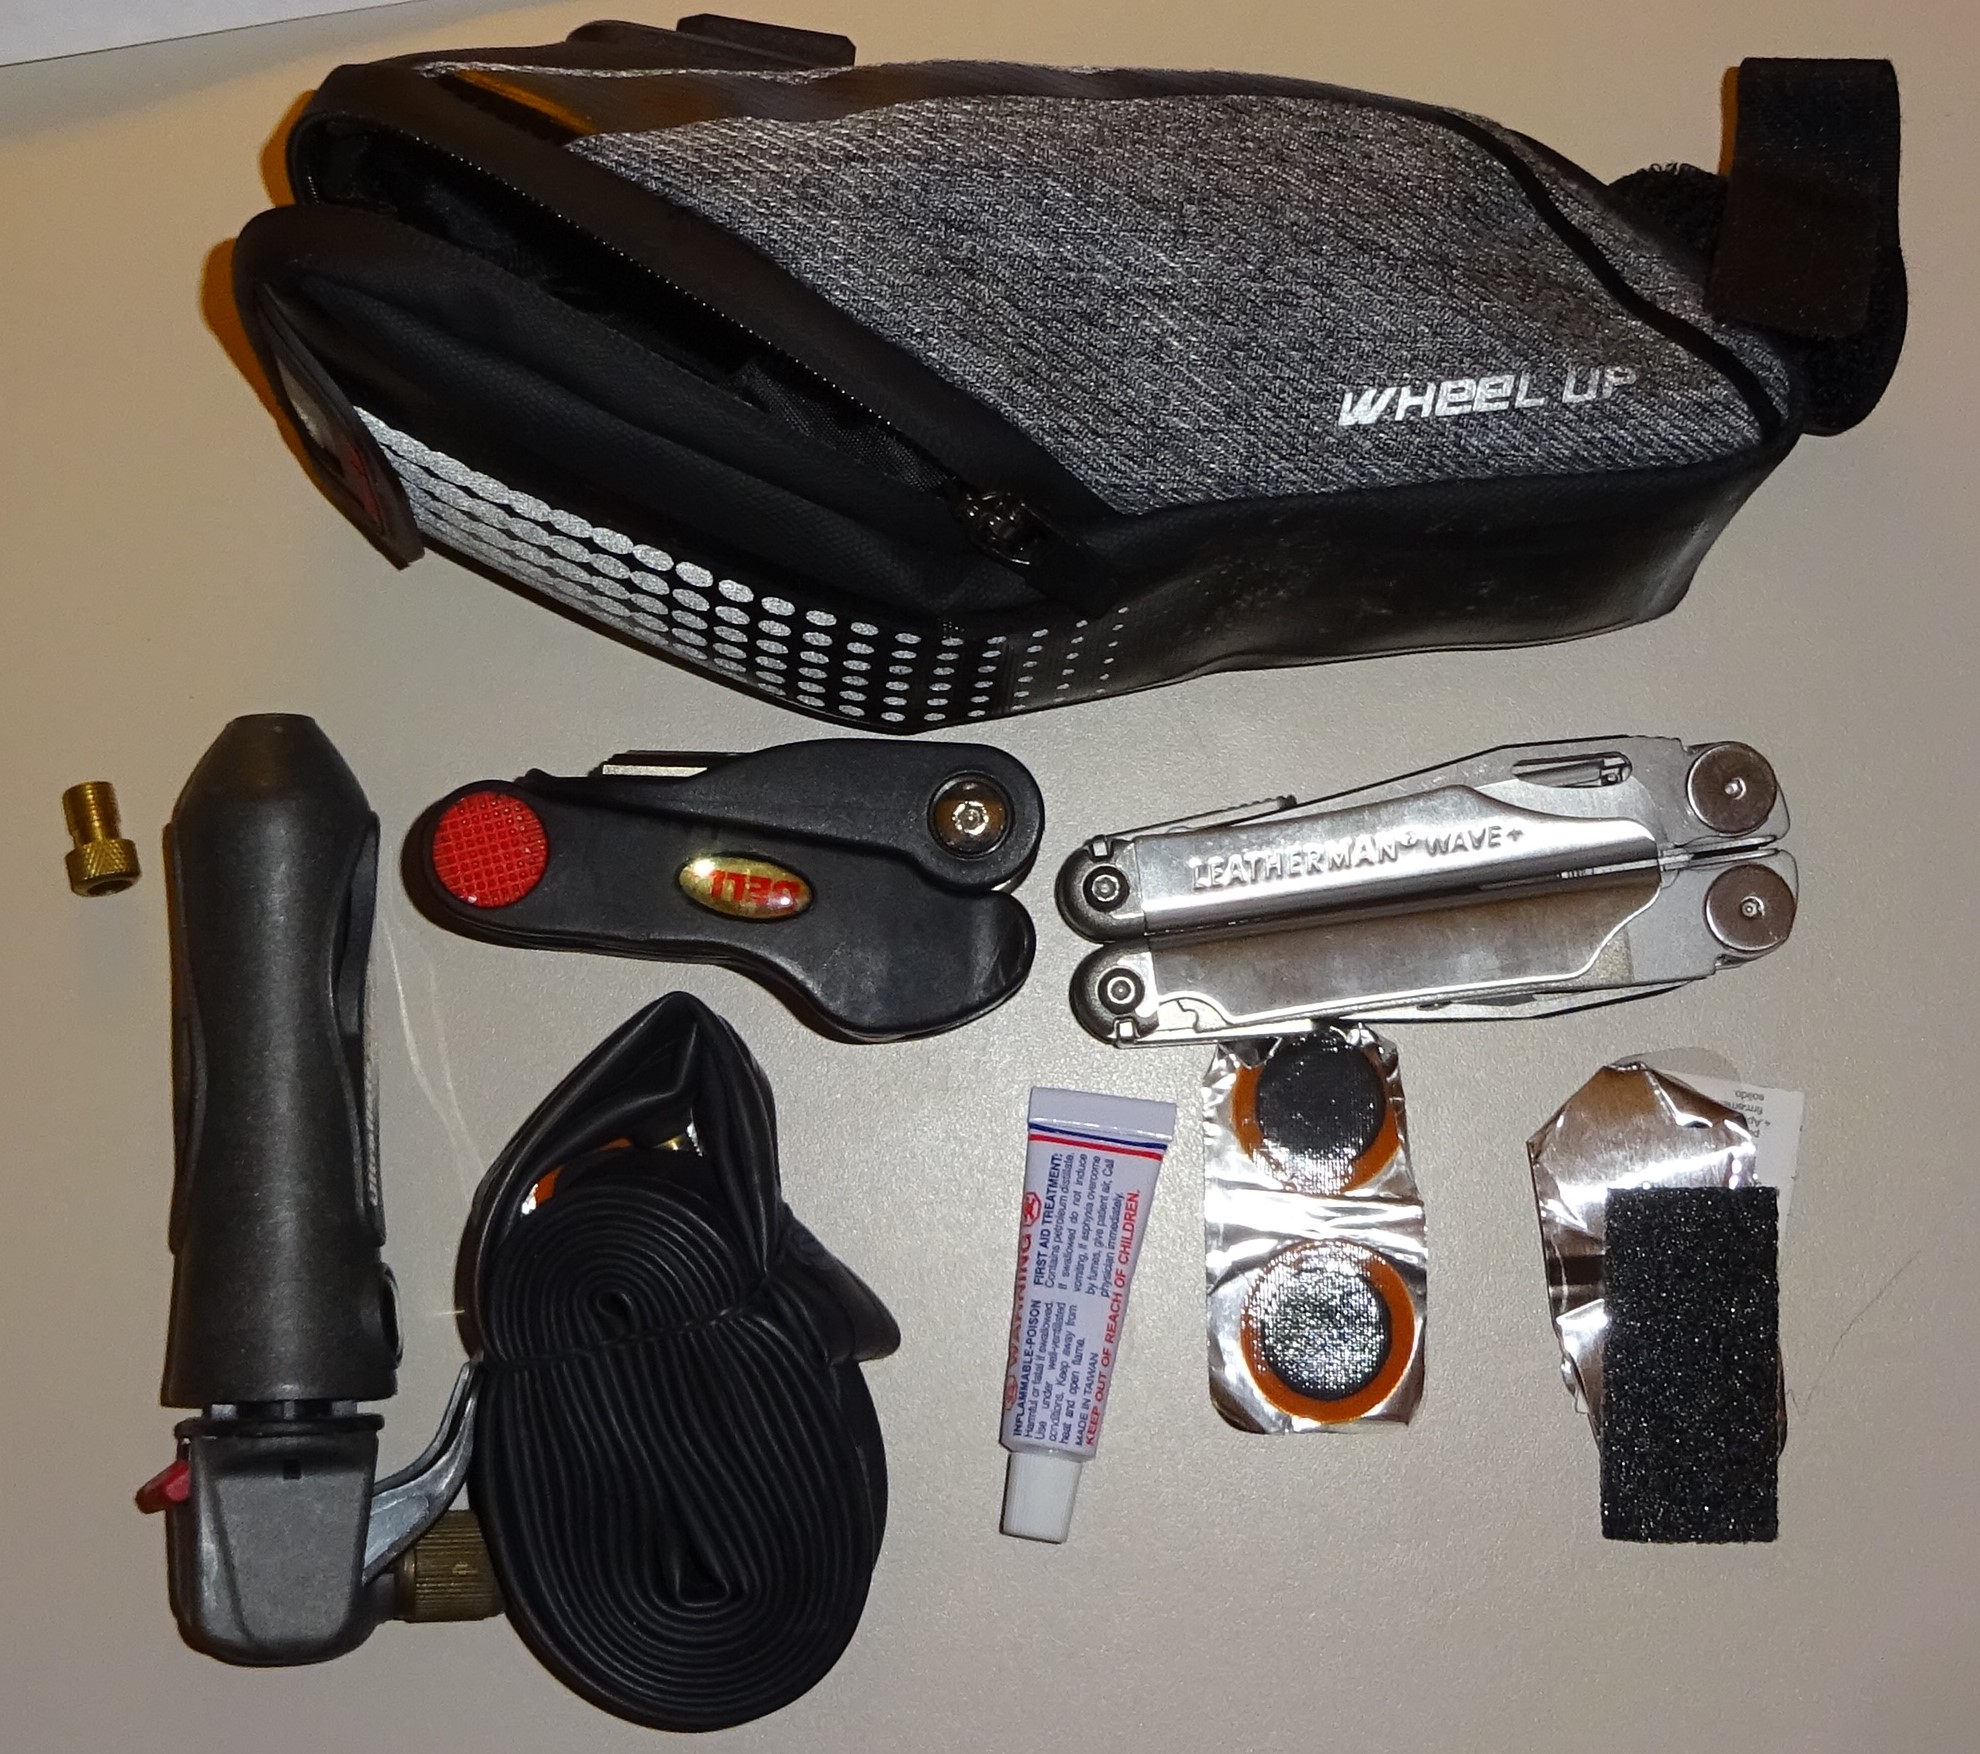
Pro tip: Match your valve type religiously. Presta vs. Schrader isn’t just technical jargon – it’s the difference between inflating your tire and standing there looking foolish with incompatible hardware.
Spare Inner Tube: The 20-Minute Miracle
Carry at least one spare tube that matches your tire size exactly. This isn’t optional. Patching tubes roadside is possible but finicky – you’re dealing with dirt, wind, limited workspace, and often weather. A tube swap, once you’ve practiced it, takes 15-20 minutes and gets you rolling reliably.
The harsh truth: That first roadside tube change will take 45 minutes and involve some colorful language. By your fifth one, you’ll be done before your riding buddies finish their energy bars. Practice at home first – your future self will thank you.
Patch Kit: Your Second Line of Defense
Even with spare tubes, carry patches. Why? Because flats hunt in packs. Get two flats in one ride (it happens more than you’d think), and that patch kit transforms from “backup option” to “ride saver.” Modern patches are surprisingly reliable when applied correctly – I have patches on tubes that have lasted thousands of miles.
The good Samaritan factor: Nothing builds cycling karma like helping a stranded rider. That $3 patch kit makes you a roadside hero.
Tire Levers: The Unsung Heroes
Trying to change a tube without tire levers is like trying to eat soup with a fork – theoretically possible, practically miserable. Carry two or three quality plastic levers. Metal ones might feel more “professional,” but they’re wheel-rim scratching disasters waiting to happen.
Technique matters: Master the lever technique at home. Poor form roadside leads to pinched tubes, damaged tires, and mechanical heartbreak.
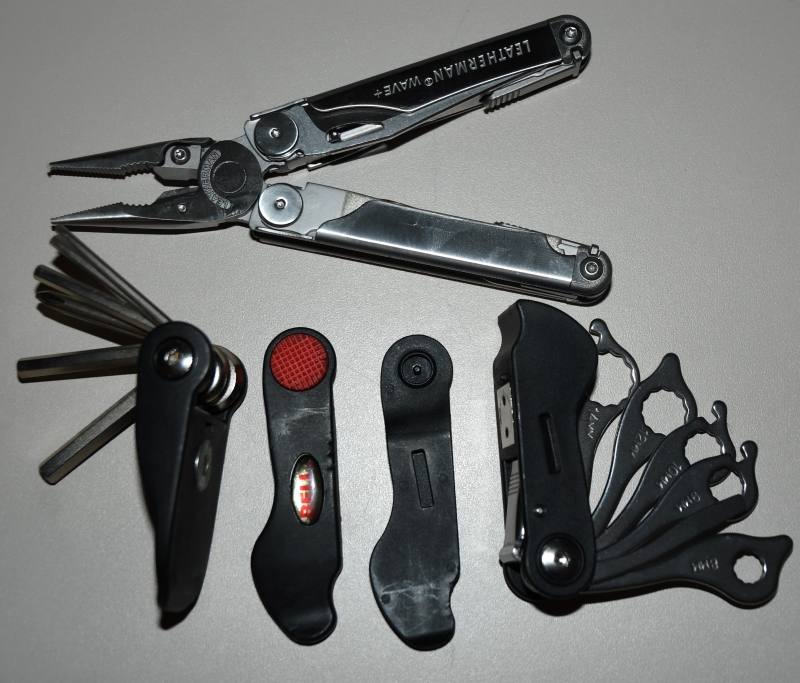
Multi-Tool: Your Mechanical Swiss Army Knife
A quality multi-tool handles 90% of roadside mechanical issues. Look for one with hex keys (2-8mm), screwdrivers, and ideally a chain tool. Cheap multi-tools strip bolts and break when you need them most – invest in quality.
Real-world scenarios: Loose bottle cage, slipped saddle, derailleur adjustment, brake cable issues – your multi-tool handles them all.
The Extras That Make the Difference
Quick-link or chain tool: Chains break, usually at the worst possible moment. A $2 quick-link or a chain tool that actually works can save a ride.
Cash and ID: Roadside disasters sometimes require human assistance. Having cash for emergency food/transport, plus ID, turns potential disasters into minor inconveniences.
Compact first aid supplies: Band-aids and antiseptic wipes weigh nothing but handle minor crashes before they become infections.
Choosing Your Saddle Bag: The Details That Matter
Waterproofing is non-negotiable. Tools rust, patches fail, and CO2 canisters corrode. Your gear faces rain, road spray, and washing. Invest in genuine waterproof protection, not “water-resistant” marketing speak.
Durability over aesthetics. That Instagram-worthy leather bag won’t survive six months of real riding. Look for reinforced attachment points, quality zippers, and materials that handle daily abuse.
Visibility features save lives. Many saddle bags include reflective elements or mount points for lights. In low-light conditions, every bit of visibility matters.
Security considerations: Quality bags feature quick-release mechanisms. Locking your bike shouldn’t require leaving valuable tools as theft bait.
Recommended Saddle Bags
The following are affiliate links. As an Amazon Associate I earn from qualifying purchases.
Waterproof Bike Saddle Bag
Compact, waterproof design perfect for essential tools. Features secure mounting and quick-release mechanism.
Large Capacity Bicycle Tool Bag
Spacious compartment for extended rides. Durable construction with multiple organizational pockets.
The Psychology of Preparedness
Here’s what carrying a properly equipped saddle bag really gives you: confidence. Confidence to explore new routes. Confidence to ride solo. Confidence to say “yes” when friends suggest that longer ride.
Your saddle bag isn’t about the tools – it’s about freedom. The freedom to ride knowing that common problems are minor inconveniences, not ride-ending disasters.
Start small, build smart. You don’t need every possible tool on day one. Begin with the basics: spare tube, tire levers, mini-pump, multi-tool. As your riding evolves, so will your kit.
Every cyclist has a story about the ride that could have been ruined but wasn’t, thanks to that little bag bouncing quietly behind their saddle. Make sure your story has a happy ending.
Remember: The best saddle bag is the one you carry every ride, not the one gathering dust in your garage.